How to Remodel a Bathroom: Step-by-Step Guide
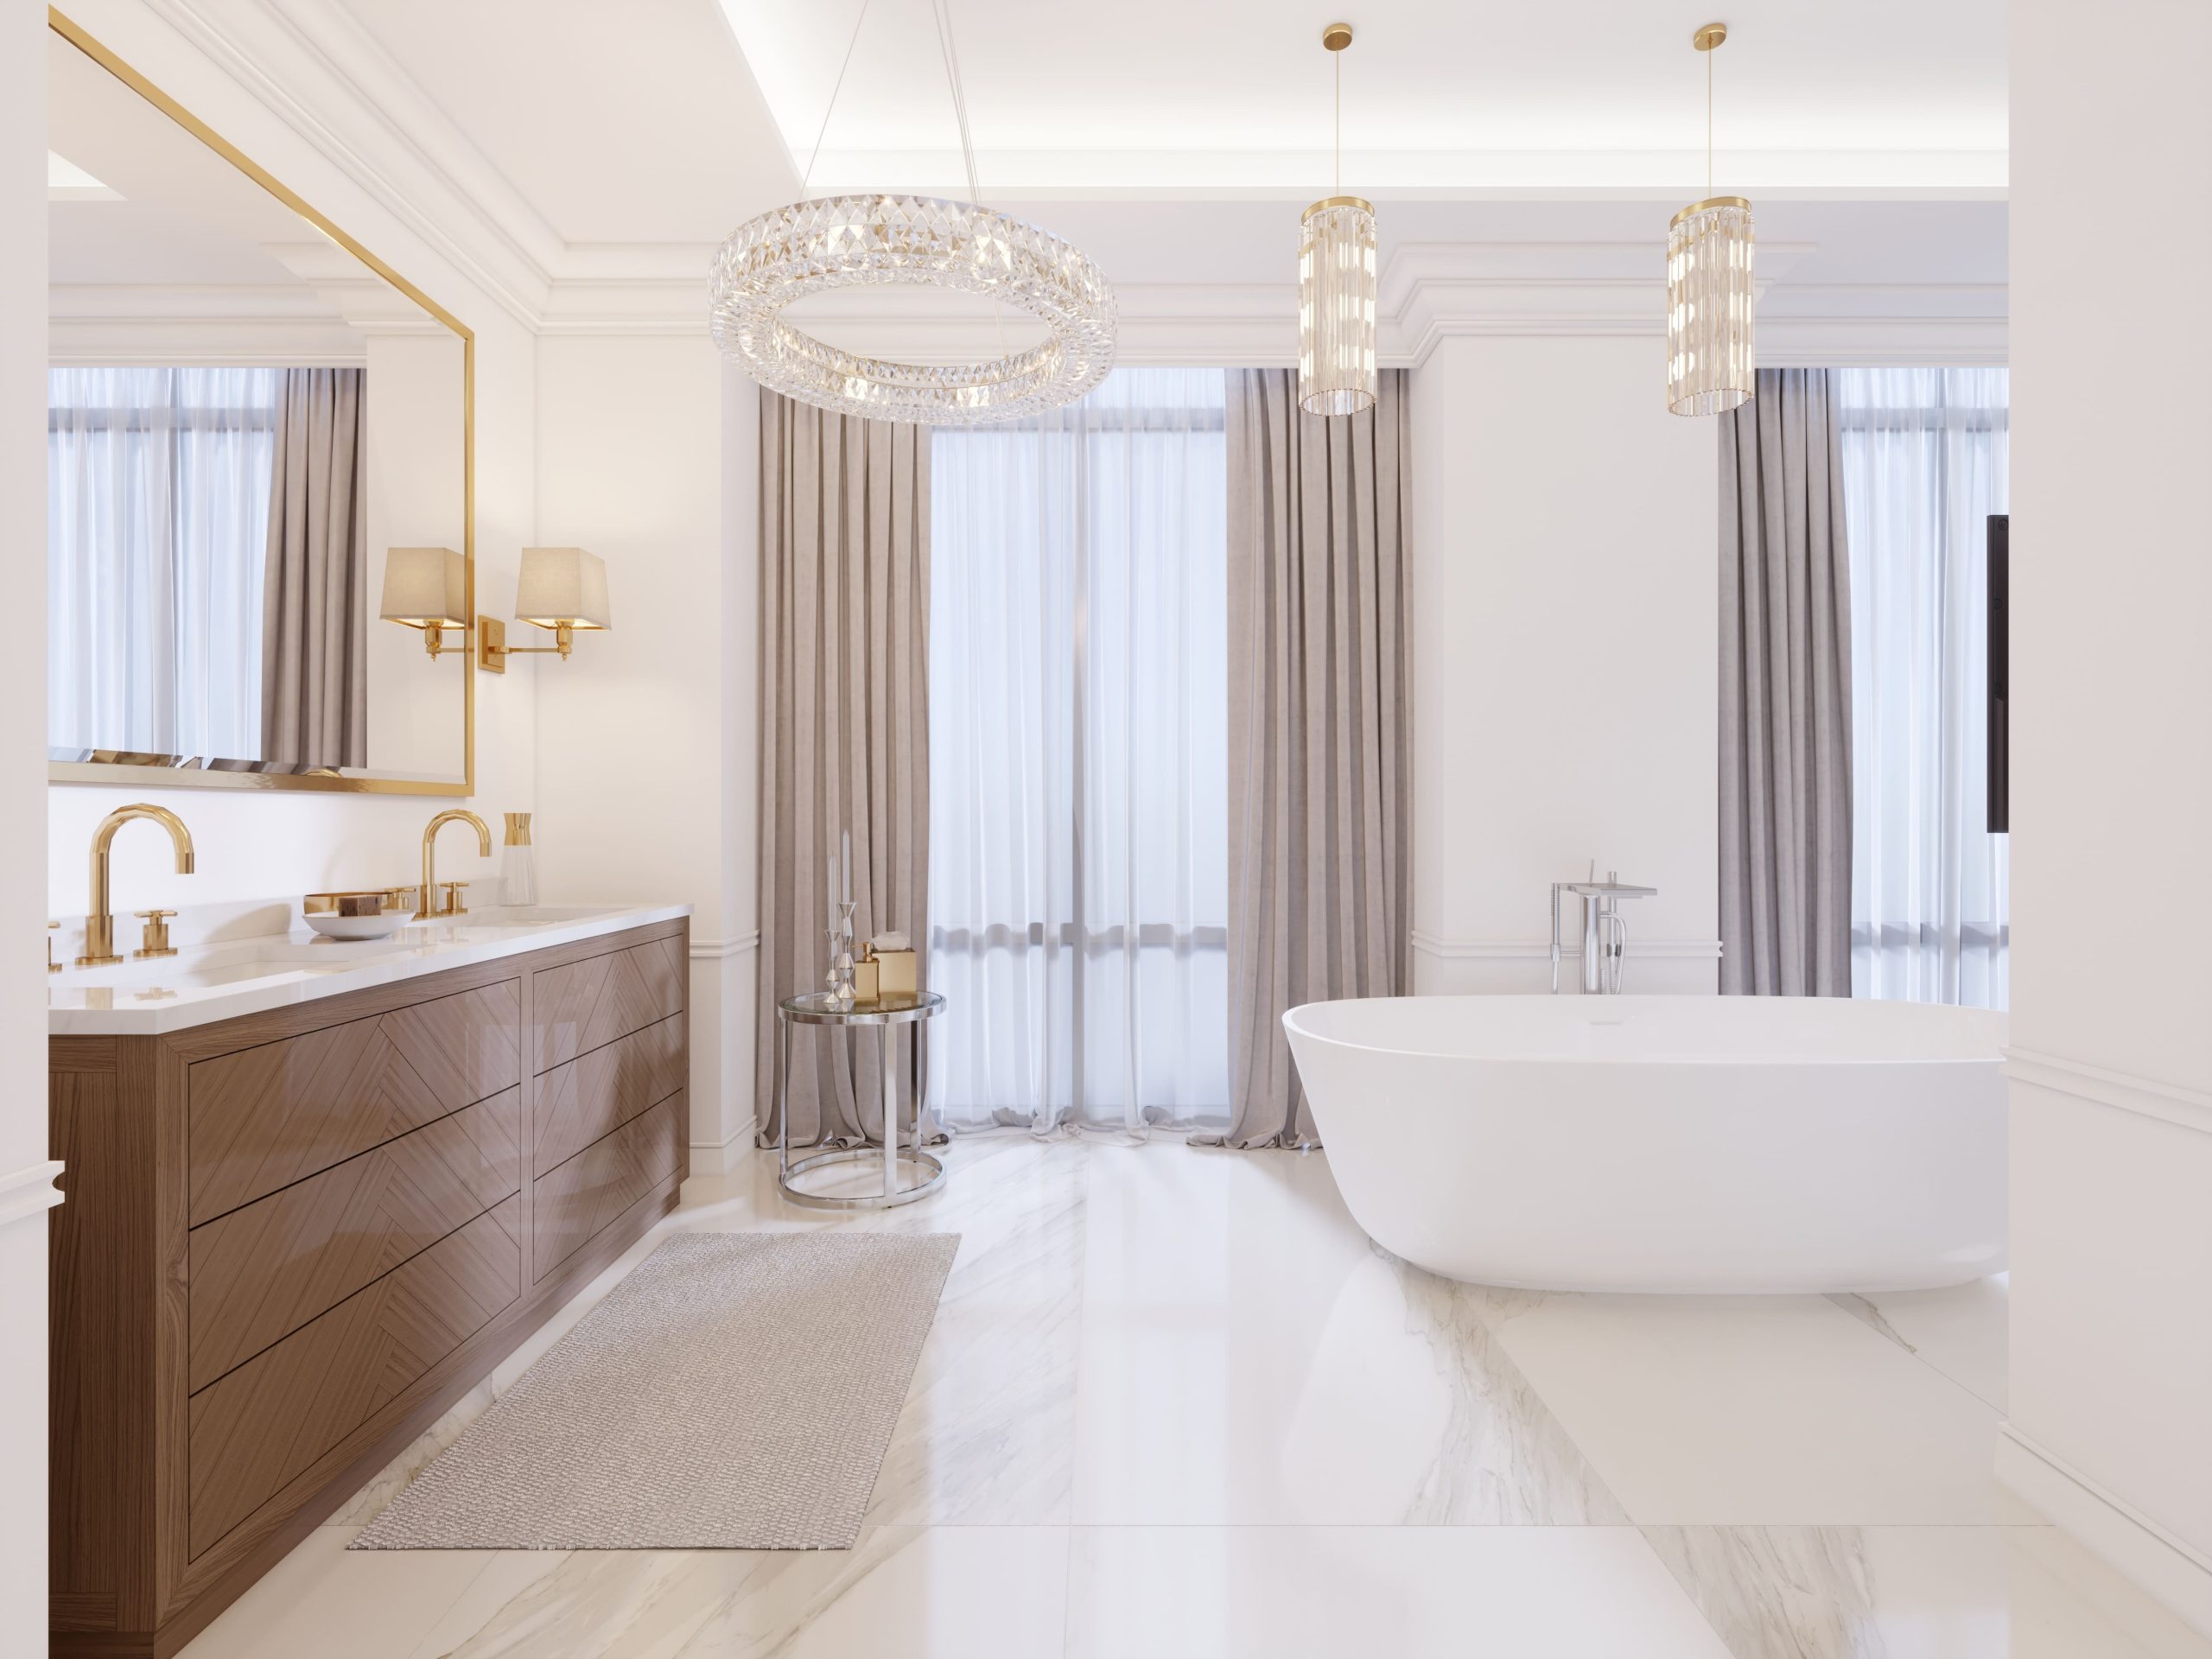
Are you ready to transform your bathroom into a beautiful and functional space? Look no further! This article provides a detailed step-by-step guide on how to remodel a bathroom. Whether you’re planning a complete overhaul or just a few updates, these instructions will help you achieve your desired results.
The first step in remodeling your bathroom is proper planning and design. This crucial stage sets the foundation for the entire project. Begin by setting a budget and determining your needs. Consider factors such as the size of your bathroom, the number of fixtures you want to install, and any specific design preferences you have. Once you have a clear vision, it’s time to select fixtures and finishes that align with your style and budget.
Next, it’s time for demolition. This is where the real fun begins! Safely and efficiently remove your old bathroom fixtures and tear down any walls that need to be replaced. Disconnecting water supply and removing tiles and flooring are essential steps in this process. Don’t worry, we’ll guide you through each step to ensure a smooth demolition.
Now that your bathroom is a blank canvas, it’s time for installation. This is the stage where you bring your vision to life. Install new plumbing and electrical systems, put in new cabinets and fixtures, and add the finishing touches to your remodeled bathroom. Sealing and caulking your new fixtures is an important step to prevent leaks and water damage.
By following this step-by-step guide, you’ll be able to remodel your bathroom with ease. Say goodbye to your outdated space and hello to a beautiful and functional bathroom that you can enjoy for years to come. So, roll up your sleeves and get ready to create the bathroom of your dreams!
Planning and Design
Planning and design are crucial steps in any bathroom remodel project. They lay the foundation for a successful renovation and ensure that the end result meets your needs and preferences. In this section, we will walk you through the key aspects of planning and designing your bathroom remodel.
First and foremost, it is important to set a budget for your project. Determine how much you are willing to spend and allocate your funds accordingly. This will help you make informed decisions when selecting fixtures, finishes, and other elements for your bathroom.
Next, consider your needs and priorities. Think about who will be using the bathroom and what their requirements are. Are you looking for a functional space for a busy family or a luxurious retreat for relaxation? Understanding your needs will guide your design choices and ensure that your new bathroom meets your expectations.
Once you have a budget and a clear understanding of your needs, it’s time to start selecting fixtures and finishes. This is where you can let your creativity shine and personalize your bathroom. Consider factors such as style, durability, and maintenance when choosing items such as faucets, sinks, toilets, showers, and tiles.
Creating a design plan or layout for your bathroom is also essential. This will help you visualize the final result and ensure that everything fits together harmoniously. You can use online design tools or consult with a professional to create a detailed plan that includes the placement of fixtures, lighting, storage, and other elements.
Remember, the planning and design stage sets the tone for your entire bathroom remodel. Take the time to carefully consider your budget, needs, and design choices to create a space that is both functional and aesthetically pleasing. With a well-thought-out plan in place, you can confidently move on to the next stages of your project.
Demolition
Demolition is a crucial phase of any bathroom remodeling project. It involves safely and efficiently removing the old fixtures and cabinets, as well as tearing down walls if necessary. By following the necessary steps and using the right techniques, you can ensure a successful demolition process that paves the way for your new and improved bathroom.
The first step in the demolition process is to remove the fixtures and cabinets. This includes disconnecting and removing items such as toilets, sinks, showers, and any other bathroom fixtures. It’s important to approach this step with caution to avoid causing damage to your bathroom or yourself. By following a step-by-step guide, you can safely and effectively remove these items without any issues.
Next, you’ll need to disconnect the water supply and plumbing connections before removing the fixtures. This step is crucial to prevent any potential leaks or water damage during the demolition process. By properly shutting off the water supply and disconnecting the plumbing, you can ensure a smooth and problem-free removal of the fixtures.
After removing the fixtures, it’s time to tackle the tiles and flooring. This involves breaking the tiles and removing the adhesive to create a clean slate for your new bathroom. There are specific techniques and tools that can help you complete this task efficiently and effectively.
If your remodeling plans involve tearing down walls, it’s important to approach this step with caution. You’ll need to remove the drywall and insulation, while also considering any electrical and plumbing lines that may be hidden within the walls. By following the necessary steps and taking the proper precautions, you can safely demolish the walls without compromising the structural integrity of your home.
In conclusion, the demolition phase of a bathroom remodel is crucial for creating a blank canvas for your new design. By following the necessary steps and using the right techniques, you can safely and efficiently remove the old fixtures, cabinets, and walls. This will pave the way for the installation phase, where you can bring your new bathroom to life.
Removing Fixtures
Removing fixtures is an essential part of remodeling a bathroom. Whether you’re replacing old fixtures or completely renovating your space, knowing how to disconnect and remove items like toilets, sinks, and showers is crucial. This step-by-step guide will provide you with the knowledge and tips to safely and effectively remove these fixtures without causing any damage to your bathroom or yourself.
Before you begin removing fixtures, it’s important to turn off the water supply and disconnect any plumbing connections. This will prevent any potential leaks or water damage during the removal process. Follow these instructions to properly shut off the water supply and ensure that the plumbing connections are safely disconnected.
- Locate the shut-off valve for the water supply to your bathroom. It is usually located near the toilet or under the sink.
- Turn the shut-off valve clockwise to shut off the water supply.
- Flush the toilet or run the sink and shower to drain any remaining water in the pipes.
- Use a wrench or pliers to disconnect the plumbing connections. Be careful not to apply too much force to avoid damaging the pipes.
Once the water supply is turned off and the plumbing connections are disconnected, you can proceed with removing the fixtures. Follow these steps to safely remove each fixture:
- To remove a toilet, start by emptying the tank and bowl. Disconnect the water supply line and remove the nuts securing the toilet to the floor. Carefully lift the toilet and place it on a towel or drop cloth.
- For sinks, start by turning off the water supply and disconnecting the plumbing connections. Remove any caulk or adhesive around the edges of the sink. Use a wrench to loosen and remove the nuts securing the sink to the vanity or wall.
- To remove a shower, start by turning off the water supply and removing the showerhead. Use a wrench to loosen and remove the nuts securing the shower handle and faucet. Carefully remove the shower walls or enclosure.
Remember to take your time and be cautious when removing fixtures. If you’re unsure about any step, consult a professional to avoid any potential damage or injury. With this step-by-step guide, you’ll be able to safely remove bathroom fixtures and prepare your space for the next phase of your remodel.
Disconnecting Water Supply
When remodeling your bathroom, it is crucial to disconnect the water supply and plumbing connections before removing any fixtures. This step is essential to prevent any potential leaks or water damage during the demolition process. Follow these instructions to ensure a safe and efficient disconnection of the water supply:
- Locate the main water shut-off valve: Before starting any work, you need to find the main water shut-off valve for your house. This valve is typically located near the water meter or in the basement.
- Turn off the main water supply: Once you have located the shut-off valve, turn it clockwise to shut off the water supply to your entire house. This will ensure that no water flows into your bathroom while you are working.
- Drain the remaining water: After shutting off the main water supply, open all the faucets in your bathroom to drain any remaining water in the pipes. This will help prevent any water from leaking when you disconnect the plumbing connections.
- Disconnect the plumbing connections: Use a wrench or pliers to loosen and disconnect the plumbing connections for the fixtures you are removing. Start with the faucets, then move on to the toilet and other fixtures. Be sure to have a bucket or towel handy to catch any water that may still be in the pipes.
By following these instructions, you can safely disconnect the water supply and plumbing connections in your bathroom. This will minimize the risk of leaks or water damage during the demolition process, allowing you to proceed with your remodel smoothly.
Removing Tiles and Flooring
Removing tiles and flooring is a crucial step in remodeling your bathroom. Whether you want to update the look of your bathroom or replace damaged tiles, this section will guide you through the techniques and tools needed to complete this task.
The first step in removing tiles is to break them. You can use a hammer and chisel to carefully chip away at the tiles, starting from the edges and working your way towards the center. Be sure to wear safety goggles and gloves to protect yourself from flying debris.
Once the tiles are broken, you can use a putty knife or a floor scraper to remove the adhesive or mortar underneath. Slide the tool under the broken tiles and gently pry them up. If the adhesive is stubborn, you can use a heat gun to soften it before scraping.
If you have vinyl or linoleum flooring, you can use a utility knife to cut it into manageable sections and then peel it up. For hardwood or laminate flooring, you may need to use a pry bar or crowbar to lift the planks or boards.
After removing the tiles and flooring, be sure to clean the subfloor thoroughly. Remove any remaining adhesive or mortar and sweep or vacuum the area to remove any debris. This will ensure a clean surface for the installation of new tiles or flooring.
Remember to follow safety precautions and take your time during this process. It can be a messy and labor-intensive task, but with the right techniques and tools, you can successfully remove old tiles and flooring from your bathroom and prepare it for a fresh new look.
Tearing Down Walls
Tearing down walls in your bathroom is an important step in the remodeling process. However, it’s crucial to do it safely and without compromising the structural integrity of your home. This section will guide you through the necessary steps to safely demolish walls in your bathroom.
The first step in tearing down walls is to remove the drywall and insulation. Start by cutting through the drywall using a utility knife, making sure to follow the studs and avoid any electrical or plumbing lines. Once the drywall is cut, you can pry it away from the studs using a pry bar or hammer.
Next, you’ll need to deal with any electrical and plumbing lines that may be running through the walls. It’s important to turn off the electricity and shut off the water supply before working on these lines. If you’re unsure about how to do this, it’s best to consult a professional to avoid any accidents or damage.
Once the electrical and plumbing lines are taken care of, you can proceed with removing any remaining studs or framing. Use a reciprocating saw or a pry bar to carefully remove the studs, making sure not to damage any surrounding areas. If there are any load-bearing walls, it’s important to consult a structural engineer before removing them.
During the demolition process, it’s important to wear protective gear such as gloves, goggles, and a dust mask to protect yourself from any dust or debris. Additionally, make sure to properly dispose of any materials that are removed, following local regulations and guidelines.
By following these steps and taking the necessary precautions, you can safely tear down walls in your bathroom without compromising the structural integrity of your home. Remember to always prioritize safety and consult professionals when needed to ensure a successful and smooth remodeling process.
Installation
When it comes to remodeling your bathroom, the installation process is a crucial step that requires careful attention to detail. This section of the guide will provide you with step-by-step instructions on how to install your new bathroom fixtures and finishes, ensuring a successful and functional remodel.
First and foremost, you’ll need to tackle the installation of plumbing and electrical systems. This involves connecting pipes and fittings for your sinks, toilets, and showers, as well as wiring lights and outlets. It’s important to follow local building codes and safety guidelines to ensure a safe and efficient installation.
Next, you’ll move on to installing new cabinets and fixtures. This includes measuring and leveling the cabinets, securing them to the wall, and sealing any gaps to prevent water damage. You’ll also need to install sinks, toilets, showers, and other bathroom fixtures, ensuring they are properly aligned and secured.
Throughout the installation process, it’s important to pay attention to detail and follow the manufacturer’s instructions for each fixture and finish. This will help ensure that everything is installed correctly and functions properly.
Once the fixtures and finishes are in place, you’ll need to properly seal and caulk them to prevent any potential leaks or water damage. This step is crucial in maintaining the integrity of your bathroom and ensuring its longevity.
Finally, you can add the finishing touches to your remodeled bathroom. This includes installing flooring and tiling, painting the walls, and accessorizing with towels, mirrors, and other decorative elements. These final steps will help create a beautiful and personalized space that reflects your style and taste.
By following these step-by-step instructions, you’ll be able to successfully complete the installation process of your bathroom remodel. Remember to take your time, double-check your work, and seek professional assistance if needed. With patience and attention to detail, you’ll transform your bathroom into a stunning and functional space.
Plumbing and Electrical
When it comes to remodeling your bathroom, installing new plumbing and electrical systems is a crucial step. This section will guide you through the process, ensuring that your installation is safe and functional.
Connecting Pipes and Fittings: Before you start connecting pipes and fittings, it’s important to have a clear plan in mind. Measure and mark the locations where the pipes will run, ensuring that they are properly aligned and level. Use the appropriate tools, such as pipe cutters and wrenches, to connect the pipes and fittings securely. Don’t forget to use plumber’s tape or joint compound to create watertight seals.
Wiring Lights and Outlets: Proper electrical wiring is essential for a well-functioning bathroom. Begin by turning off the power to the bathroom at the main electrical panel. Plan the layout of your lights and outlets, taking into consideration the location of your fixtures and the overall design of your bathroom. Use the appropriate wiring techniques, such as running cables through conduits and connecting wires to switches and outlets. Don’t forget to test the electrical connections before turning the power back on.
By following these steps and guidelines, you can ensure that your plumbing and electrical installation is done correctly. Remember to consult with a professional if you have any doubts or concerns. With the right knowledge and tools, you can create a safe and functional bathroom that meets your needs and preferences.
Cabinets and Fixtures
When it comes to remodeling your bathroom, installing new cabinets, sinks, toilets, showers, and other fixtures is an important step in creating a functional and beautiful space. This section will guide you through the process of installing these essential elements, ensuring that you have a clear understanding of the steps involved.
1. Measure and Level
Before you begin installing cabinets and fixtures, it’s crucial to measure the space accurately and ensure that everything is level. Use a tape measure to determine the dimensions of the area where you will be installing the cabinets and fixtures. Use a level to make sure that everything is straight and even.
2. Secure and Attach
Once you have measured and leveled the space, it’s time to secure the cabinets and fixtures in place. Use screws or brackets to attach the cabinets to the wall or floor, depending on the type of installation. Make sure that everything is securely fastened to prevent any accidents or damage in the future.
3. Seal and Caulk
To ensure that your cabinets and fixtures are watertight and protected, it’s important to seal and caulk them properly. Apply a bead of caulk around the edges of the fixtures to prevent any water leaks. Use a sealant to protect the cabinets from moisture and humidity.
4. Test and Adjust
After you have installed the cabinets and fixtures, it’s essential to test them to ensure that everything is working properly. Check for any leaks or malfunctions and make any necessary adjustments. This will help you avoid any issues in the future and ensure that your bathroom is fully functional.
By following these steps, you can successfully install new cabinets, sinks, toilets, showers, and other bathroom fixtures. Remember to take your time and pay attention to detail to achieve the best results. With a little patience and effort, you can transform your bathroom into a beautiful and functional space.
Sealing and Caulking
When it comes to remodeling your bathroom, one of the most important steps is sealing and caulking your new fixtures. Properly sealing and caulking your fixtures will not only prevent leaks and water damage but also ensure that your bathroom remains watertight and protected for years to come.
To begin, gather the necessary materials for sealing and caulking. You will need a high-quality silicone caulk, a caulk gun, a putty knife, and a damp cloth for cleaning up any excess caulk.
Start by cleaning the area around the fixtures thoroughly. Remove any dirt, grime, or old caulk using a putty knife or a caulk removal tool. This will ensure that the new caulk adheres properly.
Next, load the caulk gun with the silicone caulk and cut the tip of the caulk tube at a 45-degree angle. This will allow for a smooth and controlled application of the caulk.
Apply a thin and even bead of caulk around the base of each fixture, making sure to fill any gaps or cracks. Use the caulk gun to apply steady pressure while moving along the edges of the fixture.
After applying the caulk, use a damp cloth or your finger to smooth and shape the caulk, ensuring a neat and professional finish. Wipe away any excess caulk to prevent it from drying on the surface.
Allow the caulk to dry and cure according to the manufacturer’s instructions before using the fixtures or exposing them to water. This will ensure that the caulk sets properly and provides a watertight seal.
Remember to regularly inspect and maintain the caulked areas to ensure they remain in good condition. If you notice any cracks or gaps in the caulk, reapply or touch up as necessary.
By following these simple steps, you can properly seal and caulk your new fixtures, preventing leaks and water damage in your remodeled bathroom. With a watertight and protected space, you can enjoy your new bathroom for years to come.
Finishes and Accessories
Once you have completed the major components of your bathroom remodel, it’s time to add the finishing touches that will truly make your space shine. This section will guide you through the steps to install the necessary finishes and accessories that will transform your bathroom into a beautiful and personalized oasis.
1. Flooring and Tiling: Start by selecting the flooring and tiles that best suit your style and preferences. Whether you choose sleek tiles or warm hardwood, make sure to measure and cut them accurately to ensure a seamless installation. Lay the flooring and tiles carefully, following the manufacturer’s instructions, and use grout to fill in the gaps for a polished look.
2. Painting: A fresh coat of paint can instantly breathe new life into your bathroom. Choose a color that complements the overall design and ambiance you want to create. Before painting, prepare the walls by cleaning them thoroughly and applying a primer. Then, use a roller or brush to apply the paint evenly, allowing it to dry completely before applying a second coat if necessary.
3. Accessorizing: The right accessories can elevate the style and functionality of your bathroom. Install towel racks, hooks, and shelves to keep your towels and toiletries organized. Consider adding a mirror or two to create the illusion of a larger space. Don’t forget about lighting fixtures to provide ample illumination. Finally, add some personal touches such as artwork, plants, or decorative accents to make the space truly your own.
By following these steps and incorporating your own personal style, you can turn your remodeled bathroom into a sanctuary where you can relax and rejuvenate. Remember, the finishes and accessories are the final details that will bring your vision to life and make your bathroom a space you’ll love for years to come.
Frequently Asked Questions
- Q: How much does it cost to remodel a bathroom?A: The cost of remodeling a bathroom can vary depending on various factors such as the size of the bathroom, the quality of materials used, and the extent of the renovation. It is recommended to set a budget and consult with professionals to get a more accurate estimate.
- Q: Do I need a permit for a bathroom remodel?A: In many cases, a permit is required for bathroom remodeling projects, especially if you are making significant changes to the plumbing or electrical systems. It is important to check with your local building department to determine the specific permit requirements for your area.
- Q: How long does a bathroom remodel take?A: The duration of a bathroom remodel can vary depending on the complexity of the project and the availability of contractors. On average, a bathroom remodel can take anywhere from a few weeks to a couple of months. It is important to plan accordingly and be prepared for potential delays.
- Q: Can I remodel my bathroom myself?A: While it is possible to do some aspects of a bathroom remodel yourself, such as painting or installing accessories, certain tasks such as plumbing and electrical work are best left to professionals. It is important to assess your skills and knowledge before deciding to take on a DIY bathroom remodel.
- Q: How can I maximize storage space in my bathroom?A: There are several ways to maximize storage space in a bathroom. Consider installing wall-mounted cabinets or shelves, utilizing vertical space with tall cabinets or storage towers, and using organizers or baskets to keep items organized. Additionally, choosing space-saving fixtures and utilizing hidden storage options can help optimize space.
- Q: What are some popular bathroom design trends?A: Some popular bathroom design trends include minimalist and clean aesthetics, neutral color palettes, freestanding tubs, walk-in showers, and smart technology integration. It is important to choose a design that suits your personal style and preferences while also considering functionality and long-term appeal.